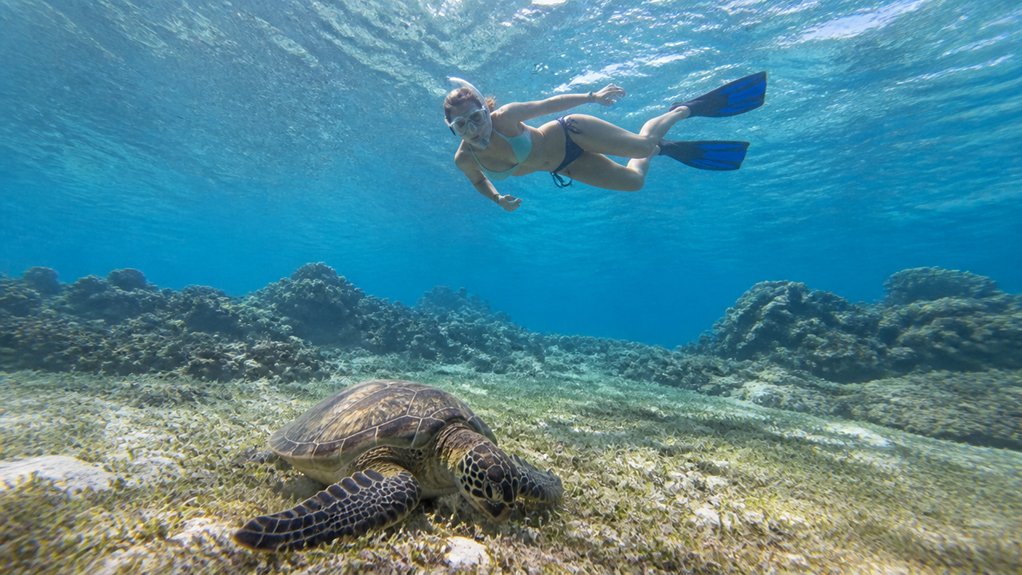
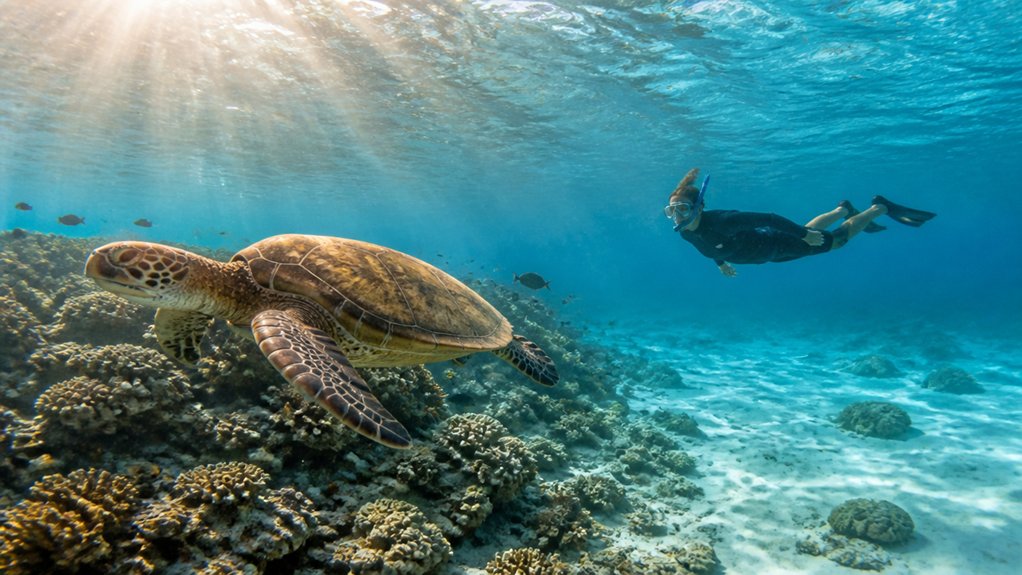
Filming a sea turtle underwater is like stepping into a slow, green cathedral where every fin stroke matters. You get the best footage when you stay back, move low and calm, and let the turtle set the pace. Wide lenses help you keep distance while still catching the shell’s worn patterns and the blue hush around it. Miss those cues, and the turtle vanishes with one hard kick. Catch them, and a different kind of scene opens up.
Key Takeaways
- Stay legal and non-invasive: keep at least 50 yards from turtles in U.S. waters, and never chase, touch, feed, or block them.
- Approach slowly from the side or parallel, using gentle kicks and frequent pauses, while staying out of the turtle’s path to the surface.
- Watch behavior closely: rapid dives, bolting, staring, sharp turns, or flipper flicking mean back off immediately and leave it alone.
- Keep filming brief, calm, and predictable; minimize bubbles, sudden movements, bright lights, and flash, and stop if the turtle seems disturbed.
- Use a wide-angle lens from farther away to capture natural habitat shots, letting the turtle control the encounter for better, more ethical footage.
Know the Legal Distance for Sea Turtles
Before you even press record, give sea turtles plenty of room. In U.S. waters, you should stay about 50 yards away from a Turtle in the water or on the beach. That buffer helps you avoid disturbing natural behavior and keeps you on the right side of federal law. The Endangered Species Act and Marine Mammal Protection Act make harassment illegal, and that can include chasing, touching, or pushing in too close for footage. If you’re filming from a boat, idle at no-wake speed, never rush straight at a turtle, and don’t circle it like a paparazzo skiff. If one glides toward you, shift to neutral and let it pass. In Hawaii, following sea turtle etiquette helps protect resting and feeding turtles from unnecessary stress. Also check local rules, protected areas, and drone permits before you roll the camera today.
Put Turtle Welfare Before the Shot
You get better footage when you give a sea turtle room and let it move through the water on its own terms. Keep your distance, don’t chase, and never touch or feed it, even if that shell looks close enough to brush with a fingertip. Stay at least 10 feet away in the water so you don’t alter the turtle’s resting or grazing behavior. If the turtle keeps grazing or resting while your bubbles fade into the blue, you’re doing it right.
Keep A Respectful Distance
From the first splash, give a sea turtle plenty of room and let its comfort set the terms. Your best footage often comes when you back off, settle down, and read the scene before raising the camera.
- In the water, stay roughly 50 yards away when you can.
- If you need to close the gap, approach slowly from the side.
- Keep low and parallel so you don’t block its path to breathe.
- Keep sessions short, and watch for stress like hard eye contact or a sudden burst away.
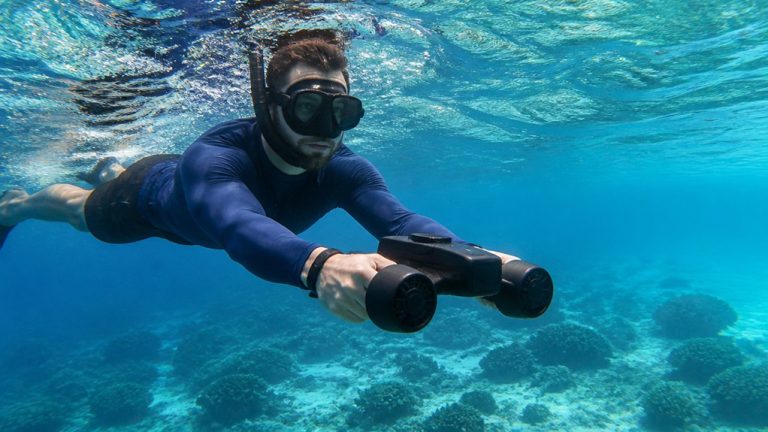
This matters just as much on Sea Scooter Tours Oahu, where gliding quietly can still bring you into a turtle’s space faster than you realize. Start filming from farther out and let the turtle get used to your shape, bubbles, and light. Frequent pauses help. So does patience. Think of yourself as a quiet guest in blue glass, not the director of the scene today.
Never Chase Or Touch
Often, the strongest turtle footage starts the moment you stop trying to control it. Let the animal choose the distance. If you’re in the water, approach slowly from the side or front, pause often, and keep your movements soft. Never chase, circle, or block its path. If a turtle wants space, move parallel or back off and let it swim away.
You also need one simple rule burned into memory: do not touch. Don’t ride, feed, or tug at debris unless you’re trained and authorized to rescue. Harassment is illegal, and it changes natural behavior. NOAA recommends a respectful viewing distance of 10 feet or more to reduce stress and disturbance. Take early flash shots from farther out so the turtle can settle. If you see staring, avoidance, erratic turns, or long dives, retreat. Turtle welfare beats any hero shot.
Read Turtle Stress Signals Before Filming
Usually, the turtle tells you how close is too close long before your camera does. Wild animals don’t hide being stressed if you pay attention. Before you settle in, read the body language.
- Rapid, erratic swimming or sharp turns mean back off now.
- Repeated staring, flipper flicking, or quick head snaps signal agitation.
- Frequent surfacing, fast breaths, or leaving the area means stop filming.
- Tucked limbs, a withdrawn head, or burst swimming says you’re too close.
Comfort looks different. You want slow, steady swimming, relaxed flippers, and calm feeding. Keep sessions short, under 30 minutes total exposure, so your presence stays a brief curiosity, not an underwater interruption. Stay at least 50 yards away from wild sea turtles whenever possible, since close approaches can become harassment under federal protections. That’s the kind of footage worth keeping anyway, in frame for both.
Find Sea Turtles Without Chasing Them
Once you know what a stressed turtle looks like, the next skill is finding one without turning the swim into a pursuit.
To do that, scan likely habitats in a pattern: bottom, seagrass, reef edges, overhangs, cleaning stations, then the surface. Ask guides and residents where relaxed turtles often feed or rest, especially in lagoons and popular snorkel sites. Habituated animals usually make better filming subjects, and encounters happen more often. If you spot one moving away, don’t chase. Angle toward where it’s already headed, or make a wide loop so you meet it later without drama. Keep your slow approaches deliberate and patient from a distance, with pauses to watch behavior. Think of it like birding underwater, except your guide surfaces for air. On Hawaii sea scooter tours, reef etiquette also means avoiding contact with coral and staying in control of your movement as you look for turtles.
Approach Slowly From Low and Off to One Side
You’ll get calmer footage if you come in lower than the turtle and off to one side, not straight at its face like an overeager paparazzo. Start from well back, move in with slow zigzags, and pause often so it can keep feeding or resting without a fuss. Keep yourself flat and low in the water, point your camera slightly upward or level, and let the turtle set the pace. On guided rides, you may also pass schools of reef fish similar to those highlighted on Waikiki sea scooter tours, so keeping your movements gentle helps you avoid startling everything in the scene.
Low, Angled Approach
Approaching low and a little off to one side gives you the best chance of seeing a turtle stay calm and keep feeding. You should approach slowly from below its eye line and angle across its path, not at its face. That feels less threatening and keeps an easy exit open. In Waikiki, water clarity can help you spot a turtle earlier and set up this gentle angle without rushing in too close.
- Stay side-on, never head-on
- Keep your kicks short and gentle
- Use a wide-angle lens from farther back
- Aim slightly upward for clean blue water
This low, angled line helps you avoid chasing, circling, or boxing the turtle in. You’ll also get better frames. Shooting slightly upward separates the shell from sand and coral, so the turtle looks crisp against open water. Think quiet glide, not underwater traffic stop, for everyone involved.
Pause And Let Feed
If you want a turtle to keep feeding, slow the whole scene down and let it set the pace. From the surface or boat, stay at least 50 yards back and start filming from farther away. Then approach turtles slowly from low in the water and off to one side, never straight on. Use a diagonal path, pause often, and let feed without feeling crowded. Keep your kicks small, your breathing steady, and your body quiet. If it moves, don’t chase. Read its route and wait ahead for a clean profile or face-on nibble shot. On Oahu, encounters with sea scooter tours can include rays, which is a good reminder to stay calm and nonintrusive around all marine life. With strobes, begin at low power and angle them forward from behind the focal plane. You’ll get calmer footage, less backscatter, and a turtle that acts like you aren’t there at all.
Let Feeding or Resting Turtles Settle First
When a turtle is grazing on seagrass or parked under a ledge for a nap, the best move is to stop well back, about 50 yards, and let the scene stay calm. Give it time to chew or snooze until its motions look easy again. Don’t fin straight in. Hang back, watch the water settle, and allow the turtle to choose what happens next.
Stop well back, let the water settle, and give the turtle room to graze or nap on its own terms.
- Take your first clips from farther away.
- Pause often and keep your kicks slow.
- If it slips off or turns sharply, stop at the first sign and wait.
- Dim your strobes and keep the flash soft.
If the turtle retreats, back off instead of chasing. Circle wide only when needed, then move toward where it’s headed, not where it is. Respect like this also helps protect nearby coral reefs, which support fisheries, coastal protection, and local livelihoods.
Choose Low, Upward Angles for Turtle Shots
Often, the strongest turtle shots come from low in the water, with your camera tilted slightly upward into the blue. Put yourself low in the water column and aim level with the turtle’s eye-line, or slightly below it. That angle gives you cleaner, backlit water behind the shell and a more natural portrait from your camera. Approach slowly from below or parallel, and take your first shot from a distance so it gets used to you and your flash. A wide angle lens lets you get close, cut water between you and the turtle, and keep details sharp. If you use strobes, angle them forward and keep them behind the focal plane for soft light and calmer behavior. Even turtles dislike paparazzi bubbles nearby. For even better clarity on moving dives, sea scooter handling can help you stay steadier and reduce blur in underwater photos.
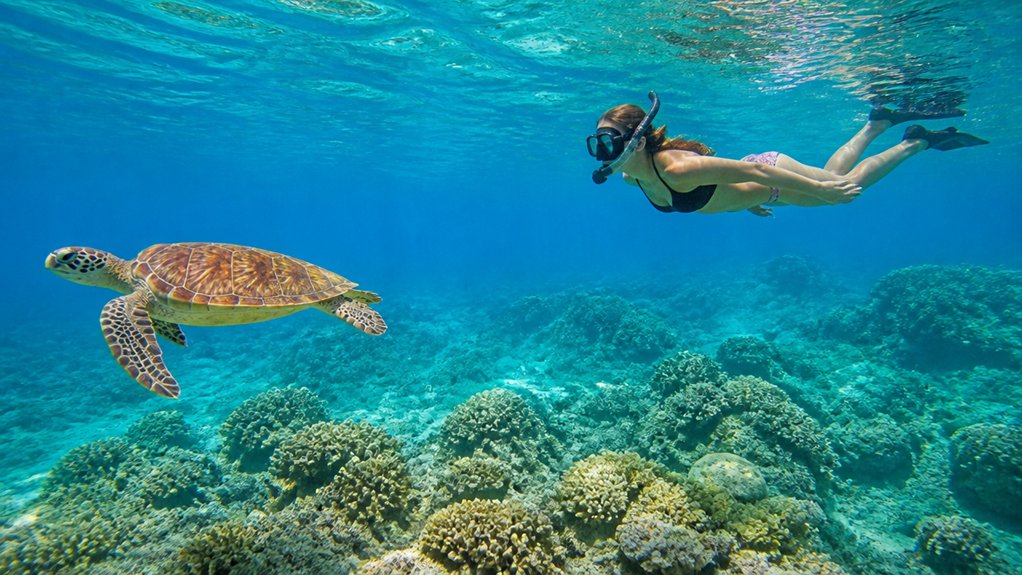
Show the Turtle in Its Habitat
You’ll tell a richer story when you frame the turtle with seagrass, coral heads, or reef ledges instead of boxing it into a tight portrait. If you shoot from low or slightly below, you can catch an upward silhouette while still showing the bottom and blue water around it, which gives the scene real shape. Keep your distance and move slowly, and you’ll have a better chance of filming the turtle feeding or resting where it actually lives, not where your camera pushed it. If you’re practicing before a first timer walkthrough, focus on wide, steady shots that show how the animal moves through its environment rather than chasing close-ups.
Include Surrounding Reef
For a stronger sense of place, frame the turtle with the reef instead of floating it in empty blue water. To include surrounding reef, use a wide lens and stay several meters off, moving slowly from below or parallel so the turtle keeps feeding, resting, or visiting cleaning stations.
- Show coral heads, seagrass, sponges, and other reef features to reveal where the turtle actually lives and what it’s doing.
- Pause often and don’t crowd; patience lets natural reef interactions unfold, and your footage feels calmer and more honest.
- Angle strobes slightly forward at low power to keep texture and color while cutting backscatter over the habitat.
- Let the reef do some storytelling. It’s the turtle’s neighborhood, not just wallpaper in your frame today too.
Before entering the water, pack essential gear for a sea scooter tour so you can focus on filming calmly and respectfully once you reach the reef.
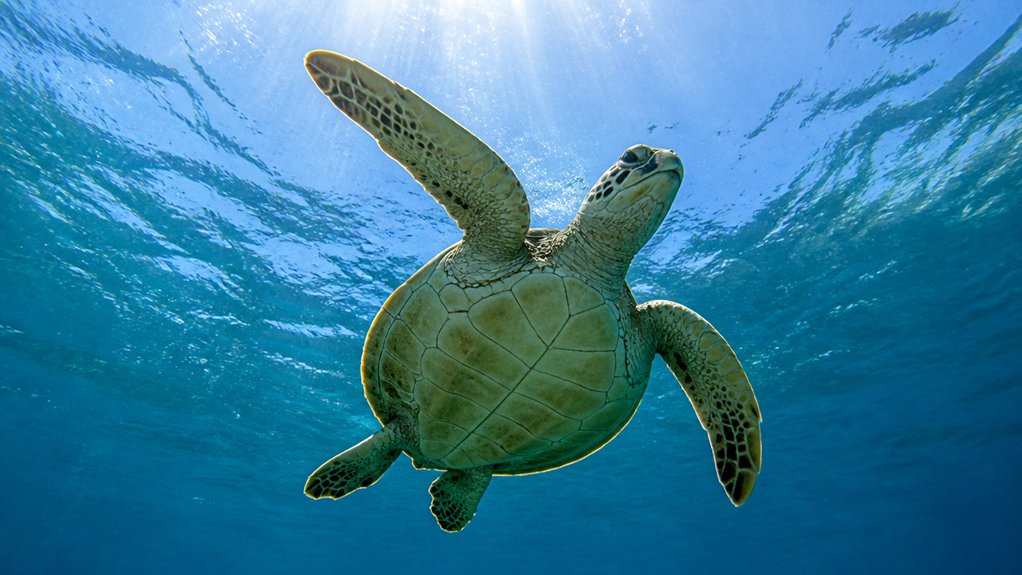
Use Upward Silhouettes
Another way to show the turtle’s world is to drop a little lower and aim up toward the brighter surface. In Turtle Photography, that upward angle separates the animal from the seabed and lets blue water, ripples, and sun texture frame the scene. Use a wide lens and move in close, but don’t rush. Either approach slowly from below or wait for the turtle to glide over you like a calm aircraft. For Hawaiian ocean tours, choose reef-safe sunscreen before entering the water so your shoot is more considerate of the marine environment around the turtle. Set a fast shutter, around 1/125 to 1/500, and stop down to f/8 through f/13 when you can. Those settings help freeze motion and keep the silhouette in underwater photography. If you add strobes, keep them low power and behind the focal plane so mood stays natural and the turtle stays relaxed.
Use the Right Camera Settings for Turtle Footage
Dial in your settings before you fin-kick into range, and turtle footage gets smoother, cleaner, and far less intrusive.
Set your camera before you close the gap, and turtle footage turns calmer, cleaner, and kinder to the moment.
- On DSLR or mirrorless, shoot Manual at ISO 200 to 400, f/8 to f/13, and a shutter speed of 1/125 to 1/160.
- If the turtle starts cruising, bump shutter speed to 1/320 or even 1/500.
- On compacts, use ISO 100 to 200, Manual or Av, 1/125 to 1/200, and the widest lens or a wet wide-angle.
- With ambient light and strobes, meter the blue water for the background, then use TTL and lower flash power a click or two.
- If you are using an action camera on a scooter-assisted tour, start with GoPro settings that favor stabilization and smooth motion in changing underwater light.
You’ll stay close, keep detail sharp, and avoid that startled look no one wants when a shell glides past like an old, polished airplane wing underwater.
Position Strobes for Soft, Natural Light
Often, the nicest turtle light starts with where you place the strobes, not how much power you blast. Set them wide from the port, just behind the camera’s focal plane, and angle them slightly forward toward your subject. That trims backscatter and keeps the look soft natural. Hold each strobe low and lateral, about 30-45° off-axis, so you shape gentle shell texture instead of a flat, startling flash. If you’re shooting at f/4-f/8, let ambient water color breathe and use TTL or lower power for subtle fill. Meter the water first, then keep output several stops down. Start with one dim test shot from farther away, then ease closer while keeping intensity low and placement steady. Your footage will feel calm, textured, and believable.
Avoid Chasing, Blocking, and Head-On Approaches
Because a sea turtle reads your movement long before you press record, the cleanest approach is usually the calmest one. Keep about 50 yards away when you can. In the water, slide in from the side or slightly behind instead of swimming directly towards it.
- Stay out of its lane and off the line to the surface. You’re filming, not blocking routes.
- Skip head-on moves. A frontal approach can look like a threat.
- Let your first frame come from farther off so flashes and reflections feel less abrupt.
- Watch for staring, quick turns, long dives, or sudden flight. If you see them, stop advancing and leave more room.
On busy ocean outings like Waikiki sea scooter tours, staying predictable in the water also helps you avoid adding stress if other wildlife appears nearby. That patience earns smoother footage, softer fin beats, and the miracle of a turtle ignoring you.
Back Away Slowly After Filming
When you’ve got the shot, end as gently as you began. stop all strobes and bright lights first, then ease backward or sideways until you’re at least 50 yards away when possible. Keep your kick slow and even. Don’t angle toward the turtle as you leave. If you are filming in Hawaii, always choose a lifeguarded beach when possible for added safety.
| Do | Why |
|---|---|
| Swim parallel or diagonal | It won’t feel boxed in |
| Retreat with your group | No one encircles it |
| Increase distance if it startles | give it uninterrupted space |
If it dives fast, stares, or bolts, treat that as your cue to disappear for 30 minutes. Make your first retreat shot from farther out too. Next time, flash will feel less like an underwater paparazzi ambush. Also check that boats stay outside 50 yards and aircraft above 1,000 feet.
Frequently Asked Questions
What Lens Works Best for Natural-Looking Turtle Proportions Underwater?
You’ll get natural-looking turtle proportions underwater with a non-fisheye wide angle lens, around 16–35mm equivalent. You can stay close, avoid distortion, and skip macro perspective, which makes shells and heads look unnatural in the frame.
How Should I Adjust Strobe Power for Close Turtle Portraits?
Lower strobe power 1–2 stops for close portraits: you move in, you soften light, you protect highlights. Keep low power, feathered output, and if TTL’s on, dial minus 0.7 to 1.3 EV after test shots first.
Why Avoid Direct Eye Contact When Filming Sea Turtles?
You avoid direct eye contact because turtles read it as a threat, and you’ll trigger stress or escape responses. By minimizing disturbance and breaking your gaze, you help them maintain natural behavior and capture footage.
Can I Film Turtles During Cleaning-Station Interactions?
Yes, if a green turtle calmly hosts wrasse, you can film cleaning-station interactions when you follow ethics protocol: keep legal distance, approach slowly, stay aside, use gentle light, and retreat if you disrupt cleaning dynamics there.
How Do I Capture Pale Flippers Without Overexposing Highlights?
Lower your strobe 1–2 stops, angle it off-axis, and slightly underexpose; you’ll preserve pale flipper highlights. Shoot around f/8–f/11 with fast shutter, meter from the flipper, and use subtle fill for soft gradation cleanly underwater.
Conclusion
When you film sea turtles with space and patience, the reef opens like a quiet stage. You catch the sweep of flippers, the green shell mottled like worn stone, and the hush of bubbles rising past coral. Stay back, move slowly, keep your lights gentle, and wrap within 30 minutes. If a turtle tenses or dives fast, let the scene go. The best footage often comes when you act less like a hunter and more like a respectful guest.