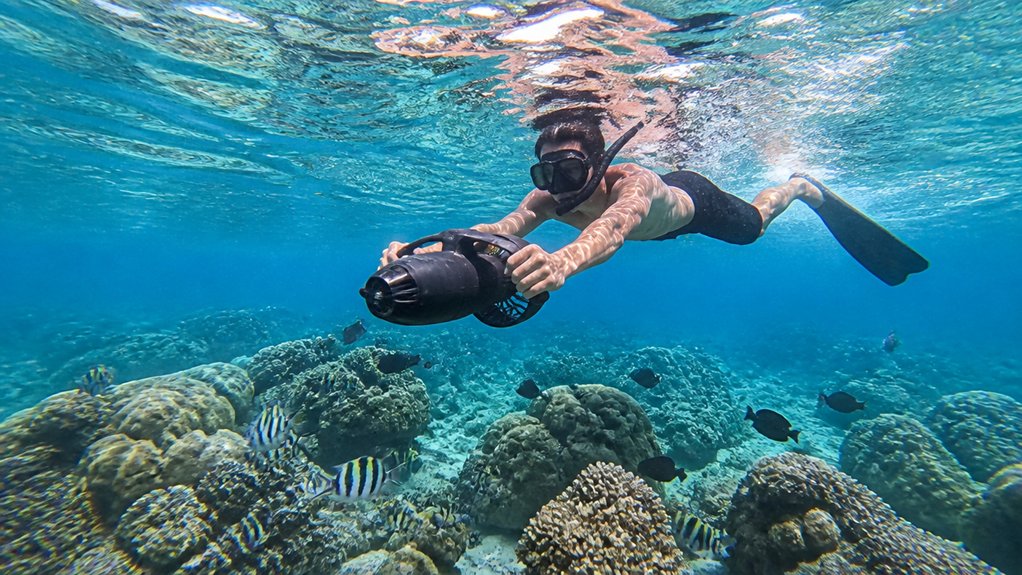
You can turn a sea scooter tour from shaky blue blur into crisp footage with a few smart GoPro settings. Think 4K60 for fast passes over coral, HyperSmooth for the scooter’s buzz and wobble, and a color setup that keeps fish from looking washed out. A saved preset also helps when you’re floating in salt water with cold fingers and a half-zipped vest. The small tweaks matter more than most riders expect.
Key Takeaways
- Create a Sea Scooter preset before sealing the housing, enable QuickCapture, and set QuickCapture Default Preset to Last Used for one-press starts.
- Shoot 4K 60fps as the default, switch to 4K 30fps in darker water, and use 120fps only for bright-light slow motion.
- Turn HyperSmooth on, use Boost for aggressive climbs or dives, and add Horizon Leveling for smoother, steadier footage.
- Set ISO Min 100 and ISO Max 1600, use High bitrate, and choose Natural for quick sharing or Flat plus 10-bit for grading.
- Lock white balance around 5500K near the surface, go warmer at depth, and prep the housing with anti-fog inserts and a leak check.
Start With the Best GoPro Setup
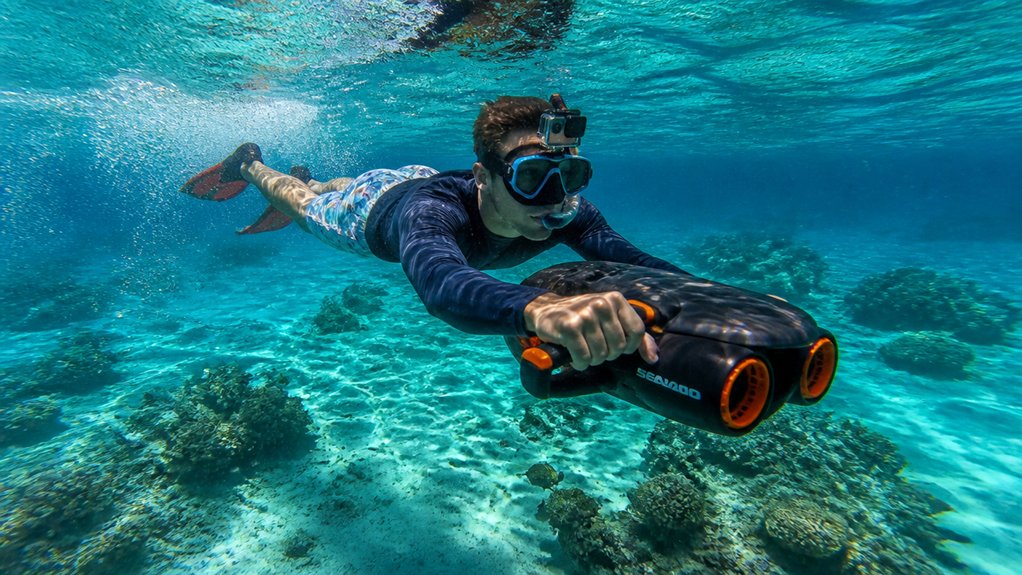
Dial in your GoPro before you snap the housing shut, because that small prep step can save the whole ride. Set video to 4K at 60fps for crisp speed and smooth coral flybys. Drop to 30fps if the water looks dim. Keep Bit Rate on High and Hypersmooth on so your footage stays steady while the scooter hums ahead.
For Underwater Settings, choose Linear to tame fisheye bend. Turn off Auto white balance and lock a fixed value instead. Use about 5500K near the surface, or the maximum setting deeper than 10 meters. Set ISO Min to 100 and ISO Max to 1600. Pick Medium or High Sharpness. Use Natural color, or Flat if you’ll edit later. Turn QuickCapture on and Auto Power Off to Never for easy mid-ride starts.
If you plan to film hands-free, try one of these creative mounts to capture smoother angles during sea scooter tours.
Save a Sea Scooter Preset First
Before you seal the housing, create a custom Sea Scooter preset so your camera is ready when the water turns bright, blue, and a little chaotic. You can save your tour settings first, then lock the case shut knowing you won’t need the touchscreen once you’re underway. Set it up for quick preset switching too, because fumbling with buttons underwater is nobody’s idea of a smooth ride. To avoid blurry footage during your tour, add anti-fog inserts before closing the housing so condensation doesn’t build up underwater.
Create Tour Presets
While the water still looks calm from the dock, save a custom Sea Scooter preset first so your camera is ready the moment the prop starts humming. Build one of your custom presets in the Secret Menu or Presets > + for 5.3K or 4K at 60fps. Pick 4K if your laptop groans at giant files.
Set Lens to Linear, Hypersmooth to On, Bit Rate to High, and 10-Bit to Off unless you’ll grade later. In ProTune, use ISO Min 100, ISO Max 1600, Auto Shutter, EV Comp -0.5, and Natural color. Keep White Balance on Auto for changing depths, then save a second preset with a fixed Kelvin setting for shallow reef runs or deeper blue water. A red filter can also help restore warm colors in deeper water during sea scooter footage. Turn QuickCapture on and disable beeps.
Seal Housing After Setup
Usually, the smartest move happens right at the camera screen: save a custom Sea Scooter preset first so you can lock in 4K/60, Linear, Hypersmooth On, and your preferred ISO range before the housing clicks shut.
Then dry your hands and case, check fresh anti-fog inserts, and make sure the O‑ring channel is clean and lightly greased with approved silicone. Close the latch carefully and seal housing only when everything feels dry and grit-free. Turn QuickCapture on, keep Screen Saver set for fast starts, and resist opening the case on deck with wet gloves. For extra protection on longer rides, pack your phone in a phone underwater case so it stays dry during sea scooter tours. Dunk the sealed housing in a sink or bucket for 30 to 60 seconds and watch for bubbles. Stash a battery and a drybag with desiccant nearby. Salt loves shortcuts.
Enable Quick Preset Switching
Set yourself up with a custom video preset called “Sea Scooter,” and you won’t have to fumble through menus once the housing is locked tight. Save 4K 60fps for silky motion, or 4K 30fps for dim water. Then lock in Linear, Hypersmooth On, High Bit Rate, and 10-Bit Off unless you’ll color grade later. For first-time riders, this preset also helps reduce stress when answering common sea scooter tour questions before you even hit the water.
| Setting | Best pick |
|---|---|
| Exposure | Auto shutter, EV -0.5 |
| ISO/WB | 100-1600, Auto or Native |
Now make QuickCapture your shortcut. Set QuickCapture Default Preset to Last Used, enable it, and one press starts recording in Sea Scooter mode. Need another setup mid-tour? Use the Secret Menu by holding Mode, then pressing Record. It’s a neat little trick when your fingers are wet and the reef is already sliding by. You stay focused on bubbles, current, and that sudden silver flash instead of poking buttons like a confused crab.
Choose GoPro Resolution and Frame Rate
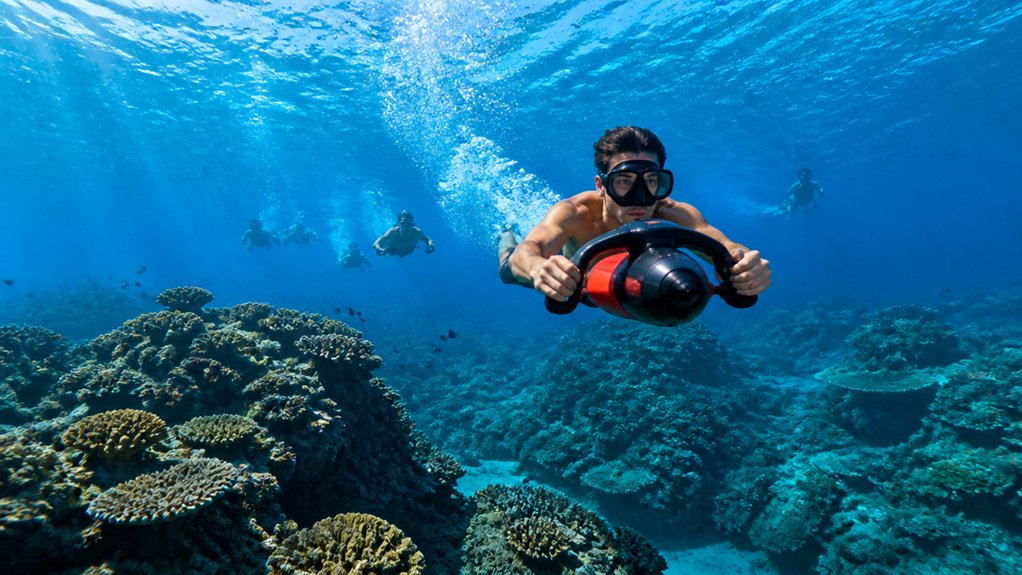
When you choose GoPro resolution and frame rate, think of resolution as your editing cushion and frame rate as your motion control. You’ll usually get the best all-around results with 4K at 60 fps, which keeps coral textures crisp and scooter runs smooth as the water rushes past. If you want cleaner slow motion or easier editing, you can shift that balance to match the ride, your storage, and how hard you want your laptop to work. These settings also make it easier to capture clear underwater shots during a sea scooter tour, especially when light and movement change quickly underwater.
Resolution For Editing
For most sea scooter tours, 4K at 60fps hits the sweet spot between crisp detail and smooth motion, so your reef passes and bubble trails look sharp without turning your memory card into a black hole.
If you want extra room to reframe, level horizons, or pull a 3K crop from a wider scene, step up to 5.3K on your HERO and downscale later for edits. In murkier water or at depth, switch to 30fps low light settings for brighter footage with less noise. If your goal is posting, 1080p social media capture keeps files small, saves battery, and lands on phone fast. Think about your edit before you dive. Corals glow, sand ripples shimmer, under you, and your laptop will thank you later. A simple shot guide can also help you match your resolution and frame rate choices to the moments you want to capture during the tour.
Frame Rate For Motion
Resolution shapes the image, but frame rate decides how your sea scooter ride feels on screen. Choose 4K 60fps when you’re filming most tours in real time. It keeps movement smooth and detailed, and it gives you room for small speed tweaks later. If you want dramatic slow motion, switch to 120fps in 4K or 5.3K. Fast passes, bubbles, and sudden fish cameos look great at quarter speed, but your files get big and editing gets heavier. In dim water or late light, use 30fps at 4K for brighter, cleaner footage. Higher frame rates need more light, so bring video lights or ride in bright daylight. The best time of day for brighter underwater footage on Waikiki sea scooter tours is typically bright daylight. For Instagram, shoot 4K 60fps and export a 1080p copy at 30fps/60fps to save space and keep uploads easy.
Pick the Best Lens View
How you frame the ride changes everything once the sea scooter starts humming and the reef begins to slide past below. Choose Linear mode when you want natural lines and a straight horizon instead of that fisheye bend. Pick Wide if you want more scene coverage for your buddy, the coral wall, and the blue around you. If you want flexibility, shoot in an 8:7 crop and trim later. For close reef details, narrow your field of view with Linear plus a slight zoom so textures stay larger and cleaner. Shooting vertical clips for social posts? Use the wider 5.3K sensor and frame for 9:16 so your chest mount doesn’t turn every turtle into a surprise photobombing celebrity nearby today on your afternoon run. If this is your first ride, a first-timer walkthrough can help you anticipate how the scooter moves so you can choose your lens view before entering the water.
Use HyperSmooth for Smoother Footage
Once you’ve picked your lens view, steadying the shot becomes the next win. Turn HyperSmooth on, because sea scooters love to tug your camera sideways and twist it through quick rolls. That stabilization cleans up the wobble fast. Pair it with 60 fps for silkier motion and better slow motion when you punch the throttle. If you dive or climb quickly, use Boost or your highest setting, but expect a tighter crop, so frame a little wider. Add Horizon Leveling for pan-heavy runs if you want a calm, watchable horizon. On tours where you can still breathe normally, smoother footage is even easier to capture because you can stay relaxed and focused on your framing.
- You’ll feel the thrill, not the shake.
- Your blue-water glides look cleaner and more cinematic.
- A quick test with housings or accessory lenses saves you from weird edge warping before launch.
Set White Balance for Depth
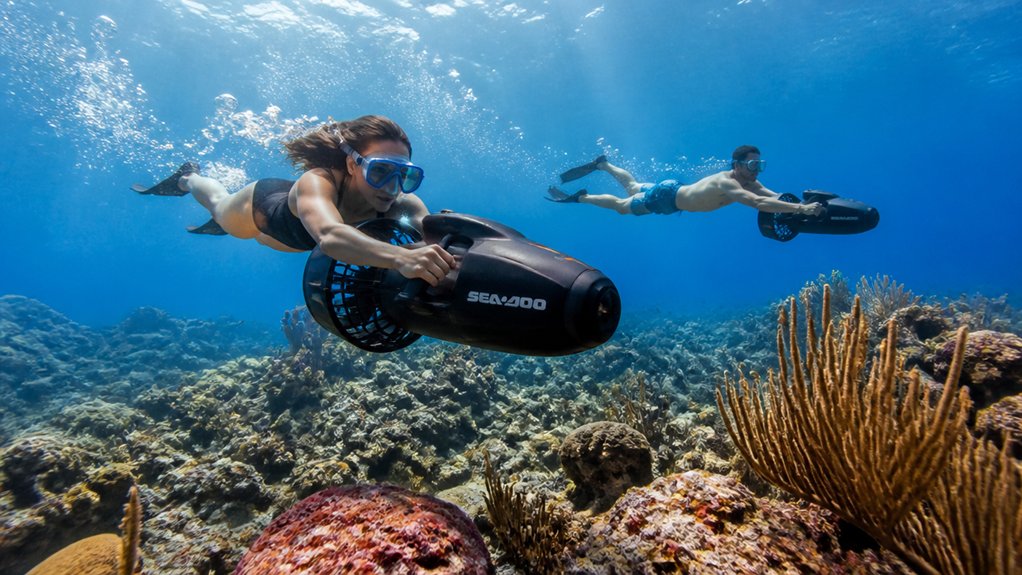
Because water steals warm color fast, your white balance setting matters more than it does on land. Skip Auto underwater, since it can swing hue mid-clip while you zip along. Instead, choose manual white balance for your expected depth. Around 5500K works near the surface. Go warmer as you descend, and push toward the maximum below about 10 meters, where reds vanish first.
Waikiki is known for clear water, which can help your footage keep better contrast and color near the surface during sea scooter tours.
If your housing stays sealed during the tour, pick a slightly warm fixed setting and keep it consistent. You can fine-tune later. A quick shot of sand, a slate, or a white fin gives you a helpful reference frame. At greater depth, a red filter or video lights can restore color, especially past 24 meters, when the blue starts acting like it owns everything down there.
Pick the Right Underwater Color Profile
Color profile is the mood ring of your underwater footage, and it decides whether your sea scooter clips look vivid right out of the camera or a little flat at first but richer later.
If you’ll color grade, choose Flat. It protects highlights and gives 10-bit clips more room, especially when you want to pull back warm reds that disappear underwater. If you want fast, ready-to-post video, pick Natural or GoPro (standard). In shallow blue water, Auto white balance usually looks pleasant.
Bringing essential gear on your sea scooter tour also helps you keep filming comfortably and consistently from start to finish.
- Pick Flat for hero shots that feel cinematic later.
- Pick GoPro (standard) when you want instant sparkle and splash.
- Save two presets so you can chase both moods, from calm coral glides to bright, grin-filled passes on the tour.
Set ISO, Sharpness, and Bit Rate
When your sea scooter starts humming and the reef begins to blur past, a few small settings decide whether your footage looks crisp and clean or noisy and crunchy. Keep ISO on auto, but cap ISO Min at 100 and ISO Max at 1600 for video. That gives you flexibility in light without letting grain take over. Set Sharpness to Medium, so coral texture stays natural instead of getting that crispy edge. Choose Bit Rate High, or 100 Mbps and up if your GoPro offers it, to hold detail during passes. Many operators also include wetsuits and gear on sea scooter tours, so you can focus on dialing in your camera before you enter the water. If you’ll color grade later, switch on 10-bit and keep Bit Rate High. For sharing, standard color looks great. On dusk rides, drop to 30fps. You’ll get brighter footage with less noise.
Use Filters or Lights at Depth
Good exposure settings get you clean files, but depth changes the look fast once the water starts stripping out reds and oranges. Use FLIP filters down to about 24 m or 80 ft, and switch strength with depth instead of trusting white balance alone. On a Waikiki sea scooter tour, color loss becomes more noticeable as you descend deeper below the surface.
- Near the surface, pair a snorkel filter around 5500 K with manual white settings so coral looks warm, not oddly green.
- Past 10 to 15 m, bring lights because filters can’t revive color in dim water. One snooted light flatters macro life. Two lights suit wide scenes and tame harsh hotspots.
- Below 24 m, let lights lead. You’ll feel the reef come back, with fish flashing crimson and wreck metal glowing like old treasure on your sea scooter glide below.
Avoid Fogging, Battery, and Card Issues
Often, the smoothest sea scooter footage comes down to boring little rituals you don’t want to skip. Before the tour, format microSD card, then pack a second pre-formatted one so you don’t hit a full-card surprise while fish flicker past. Charge at least three spare batteries, keep two in rotation, and stash one dry in a bag for the next dive.
To prevent leaks and fog, warm the camera to air first. Use anti-fog inserts, and swap them between dives when they feel spent. Only seal the GoPro housing after you inspect clean, dry, lightly lubed O-rings. Then do an air test with vacuum pressure or a shallow dunk without electronics. Also kill GPS, Wi-Fi, and screen use to stretch power and space. For a smoother start, follow check-in timing guidance and arrive early enough that you can finish these prep steps without rushing.
Frequently Asked Questions
Can I Mount a Gopro on the Sea Scooter Itself?
Yes, you can mount a GoPro on your sea scooter using Mounting positions near the centerline, add Vibration isolation, attach Quick release plates for removal, and always protect it with a Waterproof housing and tether.
How Do I Communicate While Filming Underwater?
You communicate underwater mostly through hand signals, despite the theory that waterproof radios solve everything, they often don’t. You should use prebrief scripts, written cue cards, and simple buddy tugs; keep waterproof radios optional backup only.
What Safety Tips Help Avoid Disturbing Marine Life?
Keep distance, observe behavior, and reduce noise by slowing your scooter near animals. You shouldn’t chase, touch, or block them, and you must avoid feeding. Stay above coral, follow local rules, and report distress promptly.
Which Accessories Are Best for Hands-Free Sea Scooter Filming?
Choose a head strap or buoyancy vest mount for true hands-free shots, add a magnetic mount for quick repositioning, and secure everything with a floating wristband so you won’t lose your GoPro on fast rides.
How Do I Store and Rinse My Gopro After Saltwater Use?
Rinse immediately in fresh water with ports closed, then open and flush the housing. Remove battery and card, inspect and grease the O-ring, dry thoroughly, leave it open to air-dry, and store desiccant nearby afterward.
Conclusion
Set your GoPro right, and your sea scooter tour looks almost effortlessly cinematic. Funny how “just press record” somehow needs a preset, spare batteries, anti-fog inserts, and a red filter in your pocket. Still, that small prep pays off when the reef glows, bubbles hiss past your ears, and your footage stays smooth instead of wobbling like a startled fish. Dial it in before you launch, and you’ll spend more time cruising blue water and less time fixing mistakes later.